.jpg)
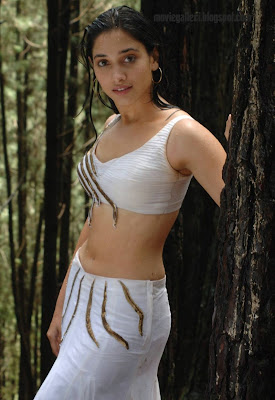
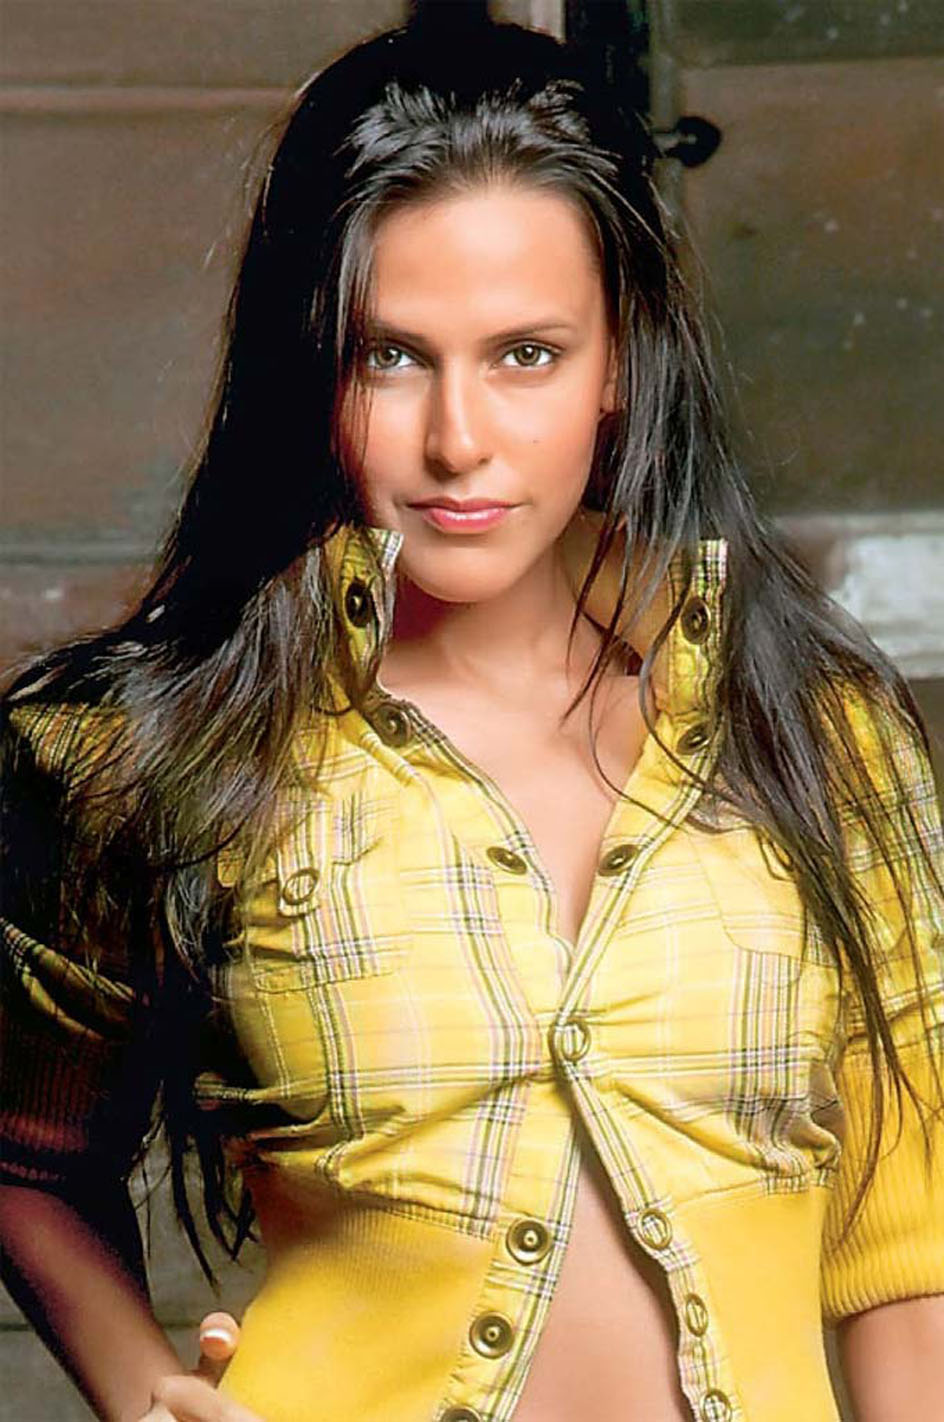
Why her? Because she is a real Brazil girl. Most of the so called "Brazilian models" look like girls form Dusseldorf. Nice pics on: djdsharp.wordpress.com. Her painted body: i.cdn.turner.com. Extremely hot photo on: forums.thefashionspot.com. In an elegant dress: moejackson.com. And a killing gallery: cgi.cnnsi.com. She was born in 1981 in Roraima. She has worked for Sports Illustrated Swimsuit Issue and Liz Claiborne. She's 1,77 cm tall, has brown eyes, and brown hair. She drinks in London, Milan and Paris usually. Her hobby is capoeira. 1,420,000 pages in Google mention her name.
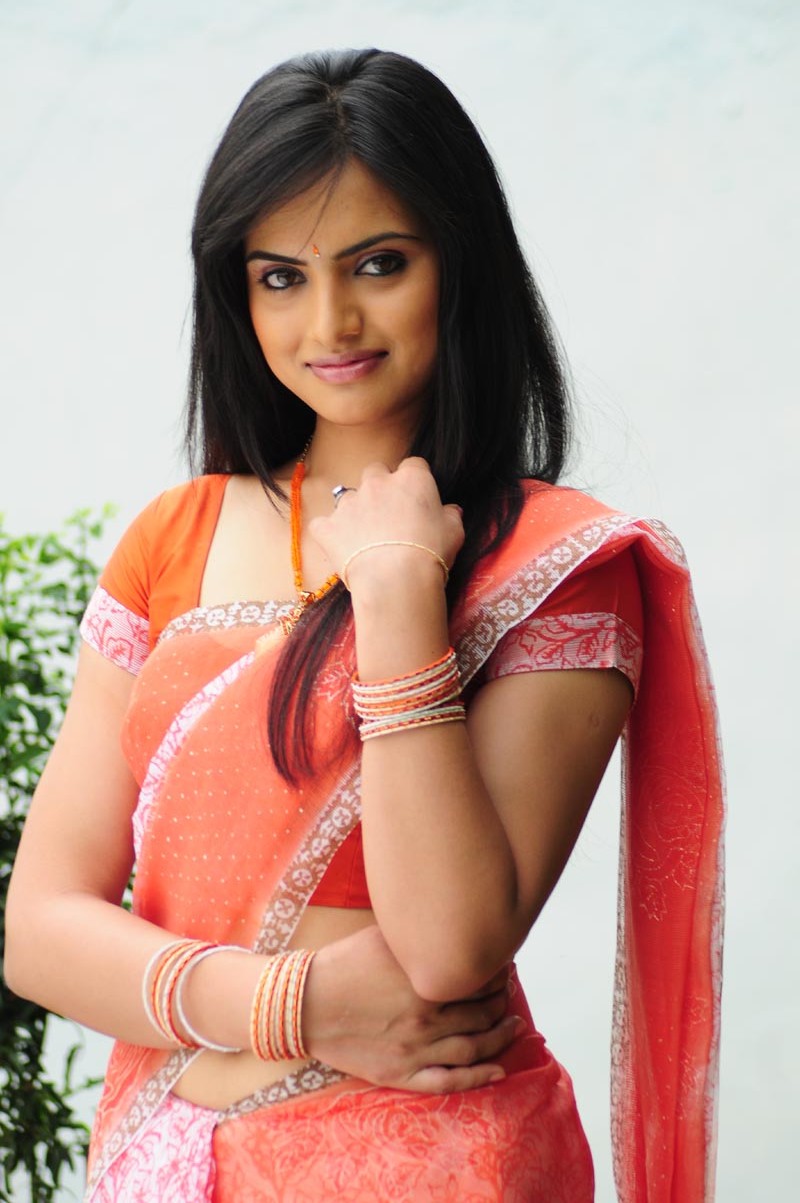
Why her? Because she has really slanted eyes. She's not half Chinese, half "I want to be white woman". And she's not playing a 12 year old girl, like what many far eastern women do. It's an option for Lewis Carroll and Polanski perhaps. Some nice shots: bamboobeancake.hopogus.com. She was ranked 14th on models.com. Her face has twice graced the cover of Vogue. She was born in 1982 in Shanghai. She's 180cms tall, has brown eyes, and dark brown hair.

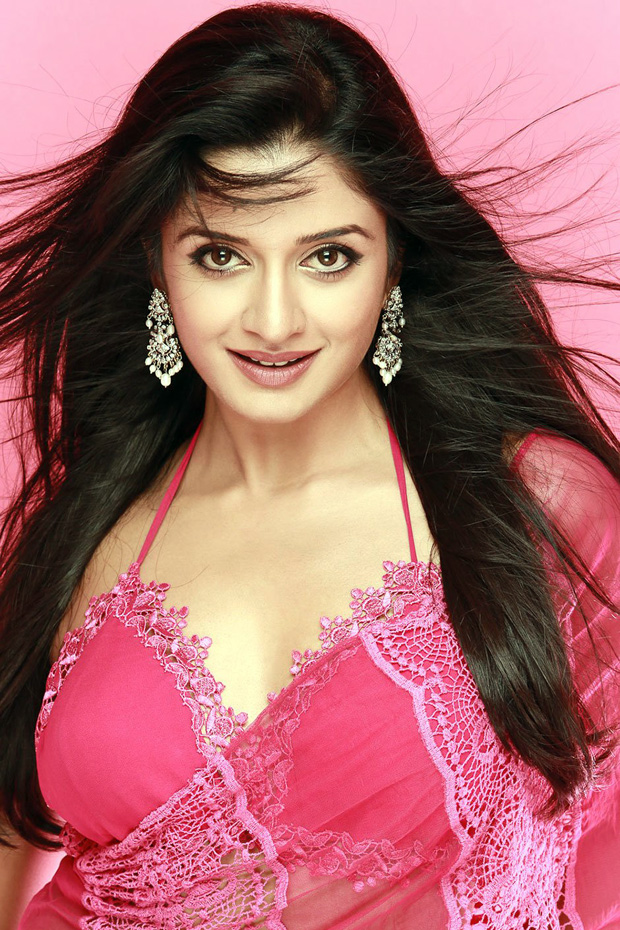
Why her? Because besides having some great shots by first class advertisers she looks pleasant even in regular pics shot on the street. Just a girl next door with a strong gaze. What's more I was looking for a Polish top model, but almost all look like cold Germans, so I've moved more East. There are some nice pics on stylefrizz.com. Well, she has a Ukrainian passport, but now I see she was born in Cracow. So I won't cancel Poland from my list forever. Eastern spelling of her name is nicer: Dariya Verbova. She was born in 1983, lives in Canada. She didn't' want to be a professional model, just treated it as a way to earn money for education. She has a little bit too intelligent a facial expression to be an ordinary hot model.

The water itself appears on Earth in many interesting shapes: geysers, springs, swift streams, waterfalls, glaciers and more. Each of them, depending on the surrounding environment, the way of light reflection or the physics nature of the process, demands exclusive approach from the photographer and using adequate technique so that the final shot result would be satisfactory attractive. The subject is wide so I divided it into three separated articles: geyser and hot springs, waterfalls and streams, the glacier.

One of the Iceland's most known nature attractions are geysers. Actually, there are only a few active geysers in Iceland but one should know that the active geyser is quite rare phenomenon and It exists only in a few places on Earth. The most famous geyser is The Great Geysir from which word 'geyser' comes from and exists in different languages. The Great Geysir is no more active - the last eruption was noticed in 60 ties of XX century. Nowadays, the most known active geyser, called Strokkur, situated in south Iceland geothermal area, erupts with a several meter high spectacular fountain every few minutes and is the aim of many tourist trips. I'll try to reveal some photo hints and thoughts which you may find valuable in case you decide to make your own trip with a camera to the geyser some day.

Let me first focus on technical aspects of shooting this unusual water phenomenon. In Iceland I used canon EOS 40D camera with canon 50mm/1.4 USM lens, Sigma 10-22mm wide angle zoom and occasionally my fathers telephoto lens. I had the UV filter put on my lenses and additional power supply in case the dedicated one got exhausted. I used two compact flash cards SanDisk Extreme III 4GB and 8GB for my pictures. My father carried Samsung s760 point and shot camera and a Canon eos 50E full frame analog body with Canon EF28-105mm f/3.5-4.5 USM lens. The first main problem I had to face up was the dynamics of gushing water. Capturing sharp image of erupting intermittently water is not a piece of cake. The explosion appeared and disappeared immediately and initially no matter if I tried to catch a single or a series of photos -the resulting image was too soft and details on a full crop were almost lost - the autofocus of camera was unable to react intelligent enough to focus on the area I wanted. So I turned off the autofocus and adjusted focus point manually. The first crushing advantage over point'n shot camera carried by my father appeared here, though he helped himself somehow by blocking focus on some object distanced similarity to the geyser explosion area.

The second issue to cope with were the ISO, shutter aperture and shutter speed values. The pace of the both geyser water explosion and nearby hot springs boiling water, especially in low light of sunset, forced my camera to reach its limits. To preserve picture details on the sufficient level during making pictures I had to set ISO to the value of 400, shutter speed shorten to less than 1/1000 s and open aperture as much as possible.
While the hot springs provides the water stream in a quite constant way the geyser is more unpredictable. It was difficult to catch the moment of explosion, especially the characteristic bulb of water and vapor appearing in the very early phase of gush.
The extreme light conditions due to the intense clouds and low sun position demanded extreme parameters: ISO 250, Aperture value:F1.4, Shutter speed 1/2000s, focal length 50 mm. Frankly, I had to postprocess by adding bit light to the initial 'after.raw' picture to receive this result - no miracles. Tripod was a must.

You never knew when the water would explode exactly though you felt that it was just about. The tripod was highly useful in such circumstances - without it I had to wait several minutes grabbing my not so lightweight camera, pointed on the geyser cavern and as you can imagine this wasn't a comfortable position for the body. The tripod also enabled to make better series of photos - the stabilization was the key thing here. Apart from the tripod I used a remote switch to avoid any camera shaking while shooting photos. I brought a soft tissue with me and whenever the water from geyser splashed the lens I used it and the session could be continued.
.jpg)
Good photo equipment is of course not everything during making photos - even the best equipment used incorrectly and without proper framing results in uninteresting photos. The specificity of shooting geyser again is inseparably related with its motion and its dynamics - making composition you have to imagine how the water column would be seen on the first plan and how it would correspond with a background. You have to even try predict how the fountain would be lit and adjust the aperture hole suitably in advance since the explosion is very short-lived and you won't have time for thinking about composition after the water appears for just few seconds. All must be planned and though in advance. Thus a lot of prior experiments are a must before you reach the satisfactory results. As mentioned above, important thing to think of was the background of the geyser. I arrived to the geyser area during nasty weather. I made some early shots but the result was far from what I had been expecting before - white geyser water column against a white and grey background were hardly distinguishable. I couldn't overcome this problem until the sky became blue when the water column on the first plan was separated enough. Even then I had to avoid rare white clouds to preserve the separation.
.jpg)
Another, luckily easy solvable problem is a steam rising above the water. You have to wait until the wind blows it away from the water column. Beware standing in the line of the wind and approaching too close to the geyser - the hot water may burn you. Wearing long trousers and waterproof sleeves with a hood is advisable if you intend to get a bit closer than others;)
.jpg)
After spending hours near the Strokkur I noticed that interesting results gave placing camera in one line with the water column and the sun. The photo below has been made with camera pointing opposite the sun and letting it light up the geyser explosion from behind.
I must confess reluctantly that my pictures of geyser were not lit enough generally, especially those shot with the sun in the frame. So the first thing I had to do when I started to postprocess was to add light. To make it correctly one have to do it selectively as not all the picture demands to be brighten. In the Photoshop I used a lasso tool from the "selection group" to mark the area that should be lit up more than other parts of the picture. To avoid sharp borders among the dark and bright area of the picture I also used Feather parameter with a value of 5. After marking the area I selected Image->Adjustments->Brightness/Contrast from the Image menu and set the light intensity to the appropriate value watching the trouble border area. The effect must not separate too much brightened area from the other darker parts of the picture. This is a standard procedure while working on such pictures. As usually cameras are unable to catch all range of light of the picture with big contrasts, such the one below.
The initial.jpg just after conversion from.raw file - without any processing. The first noticeable drawback is the safety rope hanging across the image. Additionally, the image looks as overexposed and colors are uninteresting. This is due to the sun existence which makes big contrasts. Today's cameras are still unable to catch properly such contrasts in one shot. In fact most of shots with a sun in frame looks as if the were too bright if you focus on area near the sun or too dark if you focus on other objects. The good solution is to use hdr or pseudo hdr techniques or just avoid shooting against the sun.


.jpg)


.jpg)

No comments:
Post a Comment